Forward emails into your schedule using Zapier
Zapier integrations
Our partnership with Zapier simplifies the integration and automation of 1000s of apps. You can use Zapier to connect Schedule It with many tools your team uses like Evernote, Trello, Gmail, Twist, JIRA, Salesforce, Slack, and more — all without writing a single line of code.
To set up an integration simply choose the app you want to connect and then select a 'trigger' and an 'action' to create a rule that says 'do this if this happens'. A Zap (an integration between two apps) combines triggers and actions — whenever the trigger event occurs, Zapier automatically completes the action for you.
Send or forward emails into your schedule as tasks and events
With this Zapier integration you can send new emails, or forward existing emails, directly into your schedule as tasks. These tasks can then be seen, allocated and progressed. It is possible to have a number of email addresses for different resources in your schedule, e.g. a resource just for emailed tasks, or one specifically for holiday requests, project updates etc.
1, If you do not have a Zapier account you can create one free and access our Zap here.
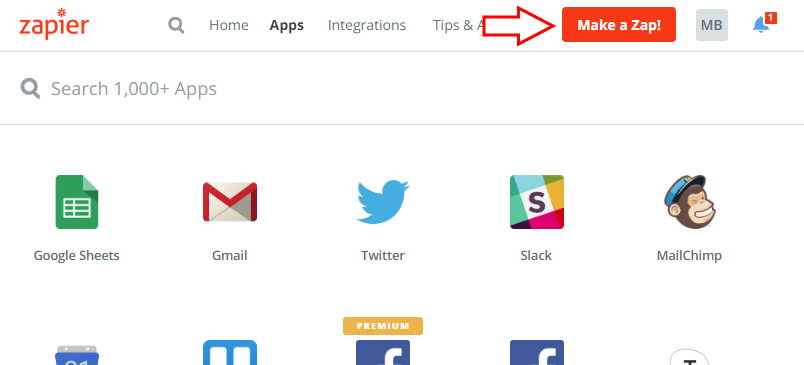
2, Once you have your Zapier account you can create a Zap to allow emails to be sent to your schedule. To start click 'Make a Zap'...
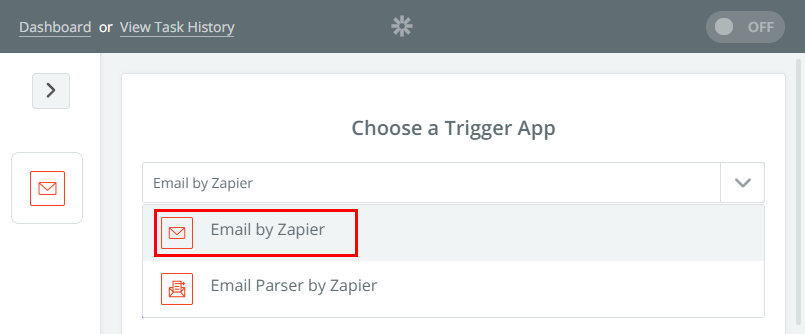
3, Choose the Trigger app 'Email by Zapier'...
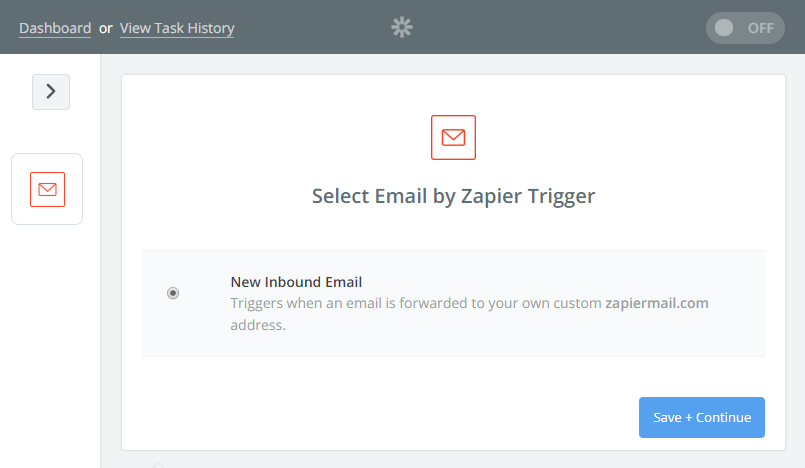
3, Choose the Trigger 'New Inbound Email'...
3, Now enter an email address starting with scheduleit followed by some random numbers that is hard to guess. Zapier will then create a unique email address that you can then copy to your clipboard. Press Continue and send a test email to it by pasting the address you have just created into your email software. Once you send an email to this unique email address your email software should remember it in the future.
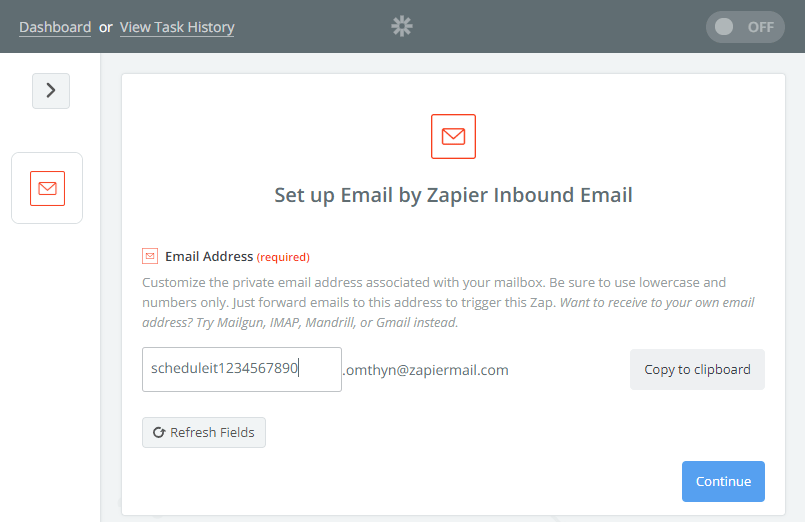
4, The test email you sent should appear in a few seconds, then press Continue.
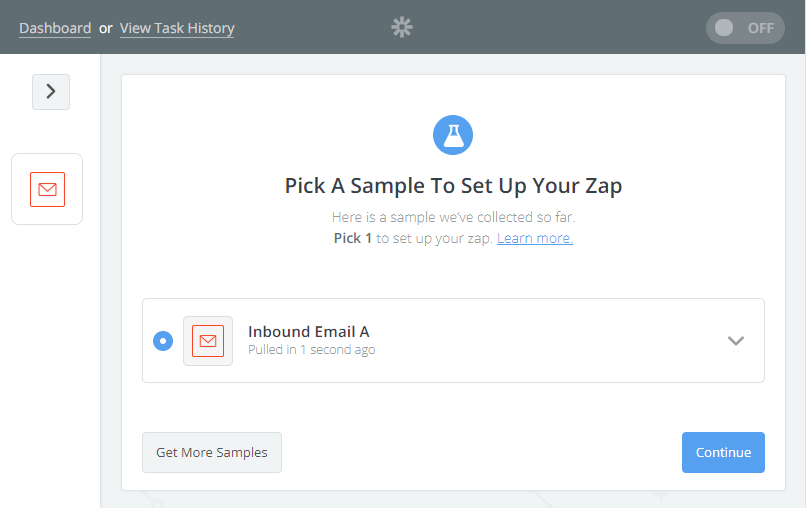
Your Trigger is now setup and receiving emails being set to it. Let's setup the Action...
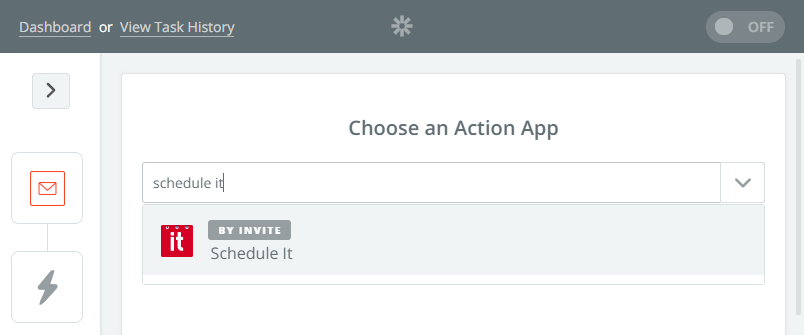
5, Search for Schedule It as the Action app.
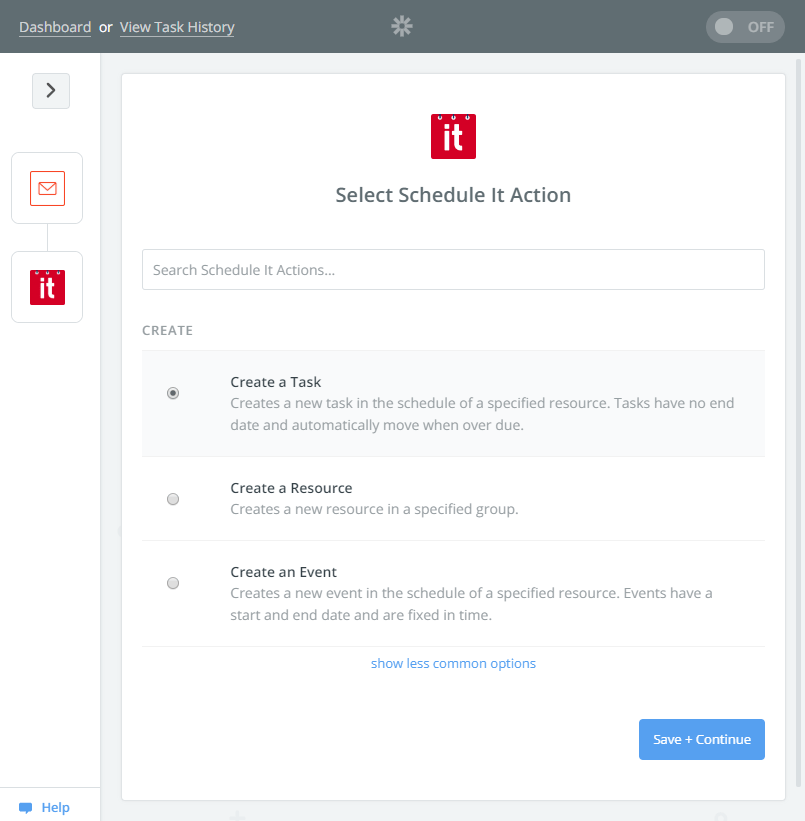
6, Choose the action 'Create a Task'...
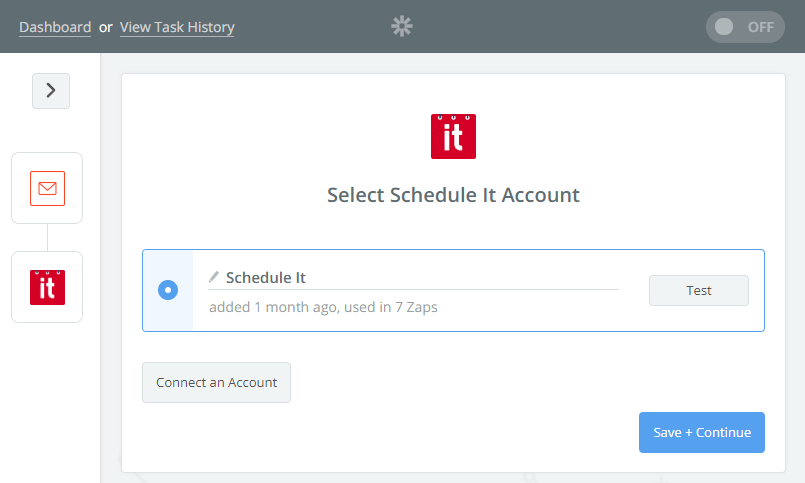
4, Choose which login details should be used. If you have not previously linked any account then choose 'Connect an Account' and enter your Schedule It login details.
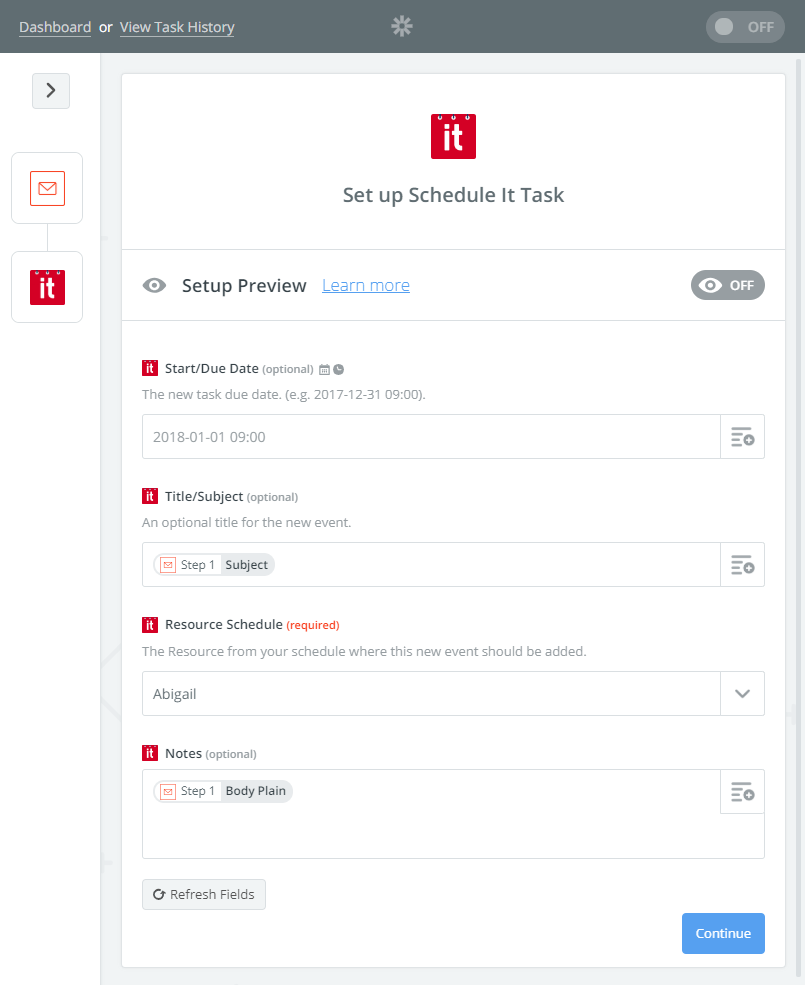
4, Now connect the email fields with the fields in a task/event. The Start can be left blank as new tasks will be added at the current time. In the Title box insert the Subject from the email. In the Resource box choose which resource will receive the emails being set. In the Notes box insert the Body from the email.
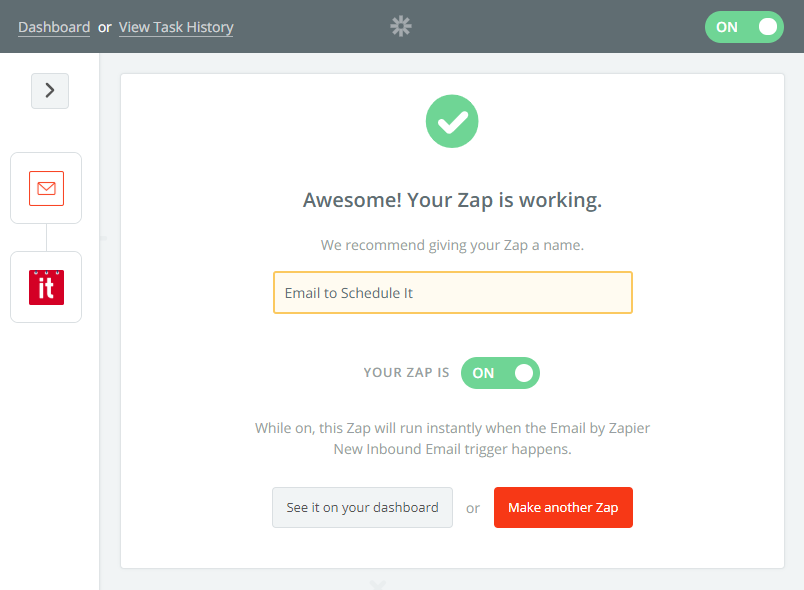
4, Give your Zap and name and turn it on.
If you need any help please contact us and we would be happy to help you setup your integration.
Last updated, 1 November 2018, 14:36
Still need help? Contact Us
Join Us - Live Webinar
...
Help Topics
Contact Us